
Today we will be showing you how to construct a dual-sided Valheim Fireplace both against the wall and in the center of the room although personally, we think the chimney does not look very good in the center of the building now obviously funneling the smoke from both these campfires into the same chimney was quite a bit harder than making the standard chimney. There’s no confusion on what you need to do to accomplish it we also recommend once you find out the exact spots for your campfires to deconstruct them if you leave them running as you get to the top of the chimney during construction you may actually die from the smoke if your health is not at the right levels.
Design Valheim Chimney
Ee’re going to begin out with the chimney against the wall first you’ll deconstruct the two floorboards for your campfires once they’re placed go ahead and start by placing a partition between them then we’re going to take the vertical two meter long wood beams and place them in the corners near the center of the room next we’re going to line the entire top edge of level with wood beams the two sides will be a two meter horizontal beam and the front and the back will be four of the one meter horizontal beams each side turtling up to eight of the one meter wood beams the reason we’re using these one meter wood beams is once we get up to the second level they allow you to snap in different locations which means we can move both of these campfires into one singular chimney so we’ll place a full wall at the front and the back centered out across the two campfires and then we’ll place a half wall on both sides attached to the top half of these walls if you attach full walls on the side you will have smoke fill the house and it will not efficiently escape through the chimney once we have that section out of the way we will finish the upper part of the chimney the same way we did in my how to make a proper Valheim chimney.
Valheim Fireplaces
Connect the roofing to chimney first off you want to add a half wall along the top of the entire house before you add roofing allows you to close up that gap that’s allowing smoke to efficiently escape through the chimney once we have half walls across the whole thing you can begin to roof it once you get along the side of the chimney you will notice that it is not enough room for an entire roof piece however the one meter horizontal boards that allowed us to snap along a different grid will allow us to snap these roof panels overlapping each other which will close up any gaps on the exterior of the house then we are going to attach a half wall across the entire interior of the wood beams and finish it up with some angled pieces on top of those half walls we’ll attach the thatch roof corner at a 45 degree angle to those angled walls and then you can start adding the interior partitions as you can see from the outside of the house there are no gaps for rain or weather to get in and on the interior you have two functioning fireplaces that look pretty good just like any real dual sided fireplace.
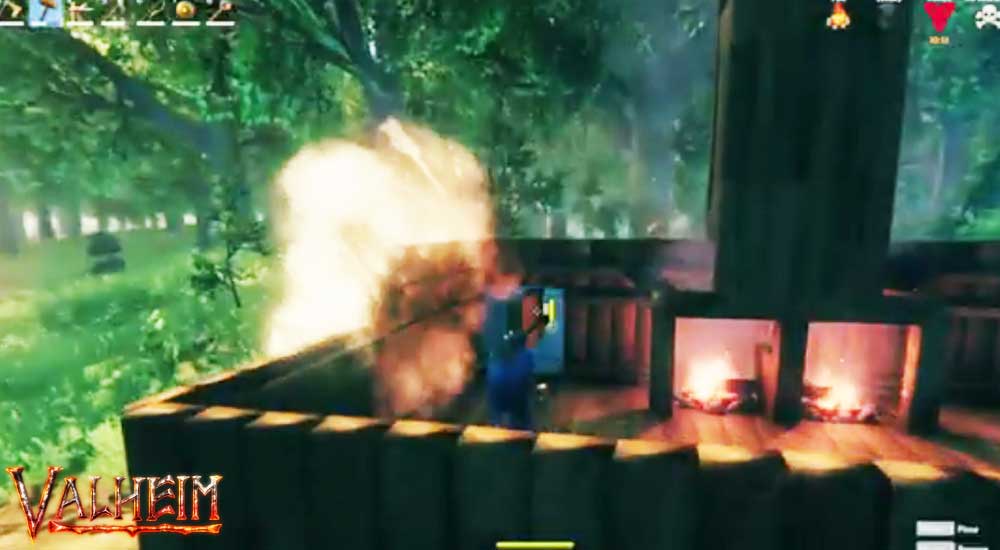
Valheim Campfires
Now we will go through how to build it in the center of the building it’s going to start the same way select the spot for both your campfires and add a partition down the middle after that we’re going to add four of the two-meter vertical wood beams two for each campfire the corners away from the partition once that’s done we are going to line it the exact same way with a two-meter horizontal wood beam on each side and four of the one-meter horizontal wood beams at the front and four of them at the back these one-meter horizontal wood beams will allow us to snap building pieces on a different grid and have the smoke from both campfires head to one chimney.
Once we have our entire frame in place we will add a full wall on the front and the backside centered over the campfires and then we will add a half wall attached to the top half of that level creating a gap on the bottom to generate more airflow and just like before we are going to finish the top half of the chimney.
We’ve finished the top half of the chimney we will begin working on the bottom section to make sure no air gets into the house just like before we will use half walls lying across the entire frame for the chimney and then we will top the front and the backside of that chimney off with 26 degree angled walls which will allow us to attach the thatch roof corner at 26 degrees to those and then depending on the shape of your house you can start attaching 26-degree roof pieces throughout the building to close up the top and the last thing you will have to do for the center chimney to eliminate weather from pouring down overhead along that small gap is to attach two 1×1 wood floors to the wall of the chimney and close up that gap from the outside.